Get the car in game
The names of the files needed for a gp4 car are:
| Car 1
|
car_myteam_car1_lod_0.gp4
car_myteam_car1_lod_1.gp4
car_myteam_car1_lod_2.gp4
car_myteam_car1_lod_3.gp4
car_myteam_car1_lod_4.gp4
|
| Car 2
|
car_myteam_car2_lod_0.gp4
car_myteam_car2_lod_1.gp4
car_myteam_car2_lod_2.gp4
car_myteam_car2_lod_3.gp4
car_myteam_car2_lod_4.gp4
|
* Some teams have a file: car_myteam_car(1 or 2)_lod_35.gp4, if you are going to edit the car of one
of these teams, delete this file (don't ask me why).
The difference between the diferente files is that the lod_0 is the most detailed and the lod_4 the less
detailed. You see the lod_0 when the car is in a short distance and the lod_4 when the car is far like in
the mirrors.
The difference between the car1 and car2 is the mapping of the numbers (remember the final step of the
mapping section, we have saved the car as car1 and car2, then we have mapped the number in the car2 in
a different place with regard to the numbers of the car1).
So now the process is simple, first of all check the order of the 28 objects. Second
export the car1.z3d to car_myteam_car1_lod_0.gp4,and the lod_0 for car1 is made.
To make the lod_1, lod_2 and lod_3, delete the z-objects from the car1.z3d (z_cockpit_insert,
z_cockpit_left_mirror,z_cockpit_right_mirror, z_cockpit_visor), export this file as:
car_myteam_car1_lod_1.gp4, car_myteam_car1_lod_2.gp4, car_myteam_car1_lod_3.gp4.
Do the same
for the car2.z3d
Remember the car_lod_4 that we have remapped, export this shape and save it as: car_myteam_car1_lod_4.gp4
and car_myteam_car2_lod_4.gp4
IMPORTANT:
To export the car you have to load all the textures (in the material editor), in this
way you will see the textures in 3D view. If you don't do this the textures are exported improperly.
I've put the word myteam but you have to change it depending in what slot you are going to put the car:
- ferrari -> slot1
- mclaren -> slot2
- williams -> slot3
- benetton -> slot4
- bar -> slot5
- jordan -> slot6
- arrows -> slot7
- sauber -> slot8
- jaguar -> slot9
- minardi -> slot10
- prost -> slot11
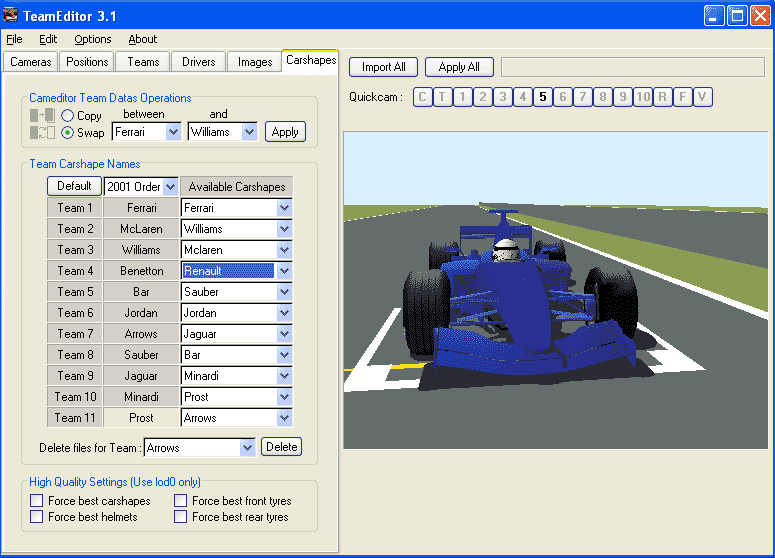
Moreover, I have to tell you that if you want you can change the name os the slot with TeamEditor,
it's to say you can use any name for your slot. For example you can change the name of slot 11 to
vicente and then name the gp4 files as: car_vicente_car1_lod_0.gp4, car_vicente_car1_lod_1.gp4 ...
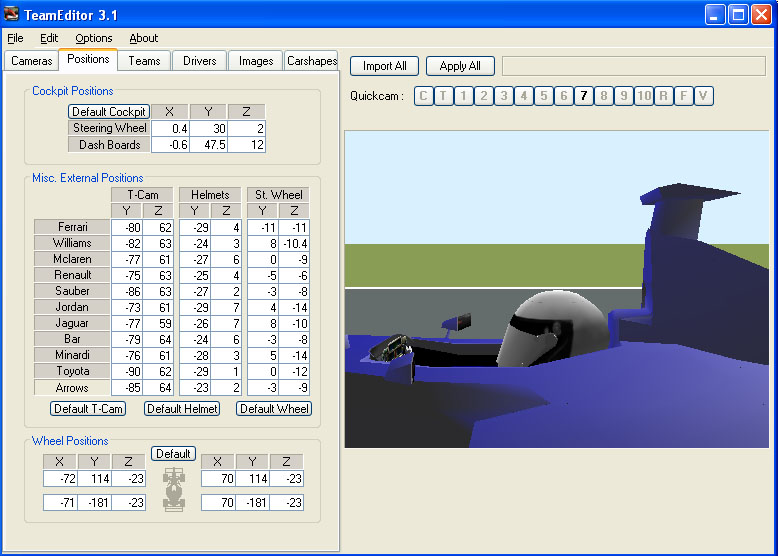
The next image shows the TeamEditor. You can load all available carshapes in your cars.wad. So
when I update my cars.wad with the gp4 files car_vicente_car1_lod_0.gp4 ... I can choose all
available carshapes in the cars.wad. Very simply.
Now the shapes are ready to get back in GP4. Remember that you can use your shape for any slot because
you have named the textures VTE_1.TGA, VTE_2.TGA and VTE_3.TGA or a similar name (this name must be different
form ferrari, maclaren, williams, benetton, bar, jordan, arrows, sauber, jaguar, minardi and prost).
Then the car will search the textures named VTE_1.TEX, VTE_2.TEX and VTE_3.TEX and doesn't matter the slot
of the car.
Now you need to save the textures of the car as TEX. We can use gp4-master (read the carpainting
tutorial by Thijis (a.k.a. Knight))
or if you want you can use TexResizer (www.realgpx.com). Itís very simple to use, just open an existent
tex file, set the with and height as 1024. Then right click over the big picture and select load from tga.
Then search your tga. After that click on downsample and save .tex file.
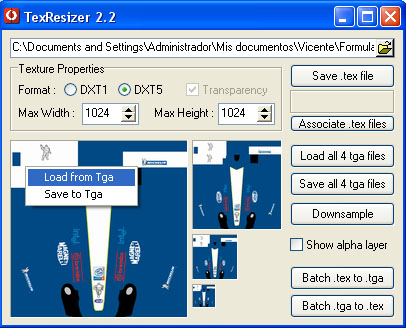
Do the same for all tex files. Remember that the hi_mycar.tex are 1024x1024 and the mycar.tex are
512 x512. And nothe that you have to flip the tga vertically before loading in texresizer. The result is

And after that you have created your tex files for your car.
With the 10 gp4 files and the TEX files update your cars.wad (read the carpainting
tutorial by Thijis (a.k.a. Knight)), the car is installed in the game
Finally we need to adjust the position of the steering wheel and the helmet, and change the rims' color.
To do this use Team Editor (dowload in www.realgpx.com)
Or if you want you can use WadUpdater (www.realgpx.com)
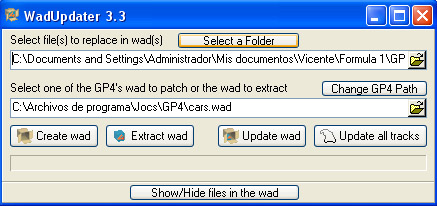
First of all make a backup of your cars.wad, then to get the car in your cars.wad, put the 10
gp4 files and the TEX files in a folder, then select it with the button Select a Folder. After
that select your cars.wad in the GP4 folder and click over Update wad. Your wad will be updated
in few seconds.
Finally, we can adjust the position of the steering wheel and the helmet, and change the rims' color.
To do this use Team Editor (download in www.realgpx.com)
To make these changes, you only have to run Team Editor and then change the the coordinates of the
helmet and the steering wheel and see in 3D view is they are in the correct place. To change the color
of the rims, double click in the box color of the rim and change the color. Moreover you can change the
brand of the tyres (michelin or bridgestone) with this progam.
Change car power, downforce, max RPM, mass...
To finish our car we must change some of the phisics of our car with GP4 Physics Editor v1.03
by Aubrey Windle.
You can dowload it on www.grandprixgames.org or any gp4 website.
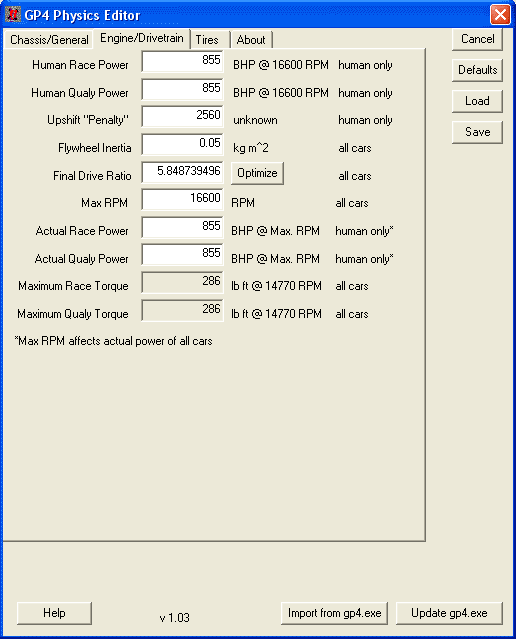
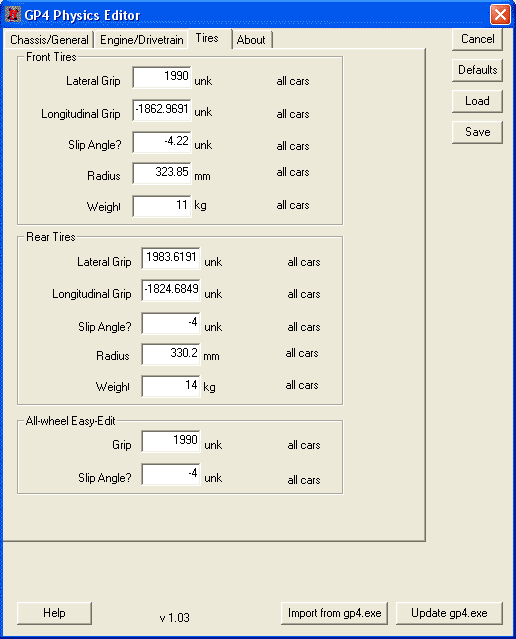
The next images are selfexplanatory, and show all you can modify of the GP4 car phisics:
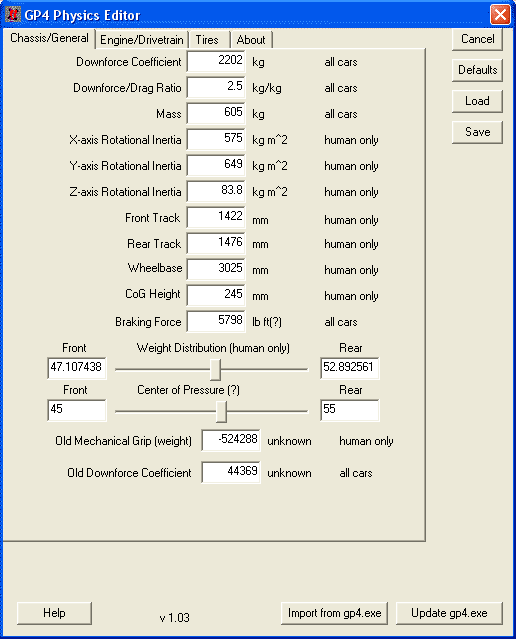
My advice to use GP4 Physics Editor v1.03 is: unzip the gp4phys.zip in a folder called gp4phys,
then copy your GP4.exe from your GP4 main folder (note that GP4 Physics Editor v1.03 only
works with the decrypted v1.02 version of gp4.exe that is available on various websites,
the gp4.exe v1.02 is the version of the official patch 9.6).
Now open the GP4Phys.exe and you will see the GP4 Physics Editor v1.03. Then make some changes
at the values. (You can see a good explantion with the help of the GP4 Physics Editor).
The best is change the Human Race Power and Human Qualy Power and the Max RPM, and you will see
that your car is faster.
Finally save your current Phisics data to a .gp3 file that you can load in GPxPatch, for example
mycar.gp3. Now go to your GP4/gpxdata/ folder and copy this file, then
run GPxPathc and go to GPxPatch -> GPxSet and
load your GP4/gpxdata/mycar.gp3 and all is done. Just run GPxPatch and drive with your new phisics
with you car, you will see that your car is faster (if you have increased the car power),
it's to say, your lap times will decrease.
By the way, you can edit directily your GP4/gp4.exe and you don't need to use GPxPath, but I
prefer to don't edit the GP4/gp4.exe to avoid problems.
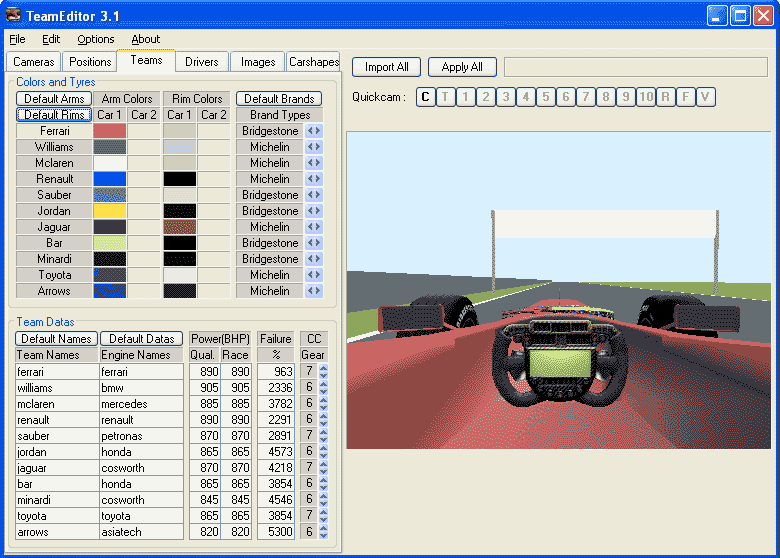
Moreover you can change some parameters of the car with Team Editor.
The next images shows that you can change Brand Type, team name and engine name, cars power,
% of failure, and gears. I have to tell you that if you change the cars power with
team editor it only affects at the performance of the cars and your car won't be
faster and you won't improve your lap times.
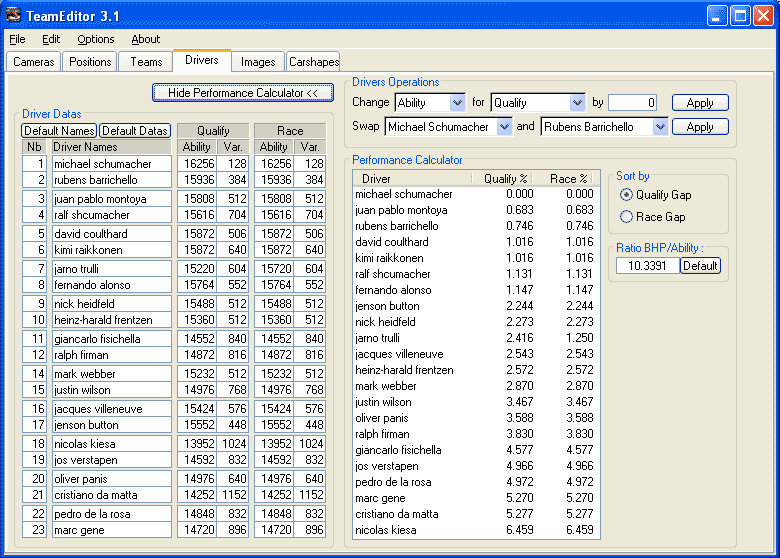
And on the Drivers section you can change the performace of the drivers and the name of the
drivers.
Congratulations, you can play with yours spectacular F1 car in GP4. Good race.
Note that I will improve this part of the tutorial in next versions.
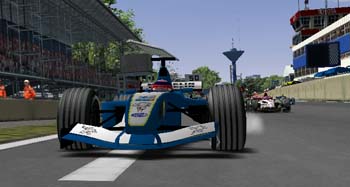
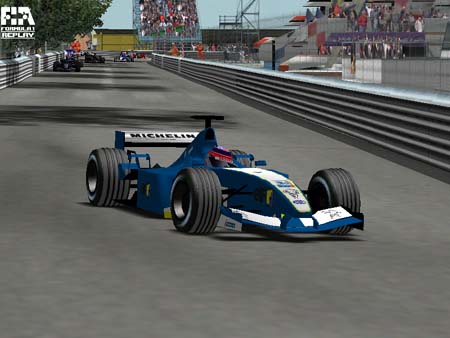
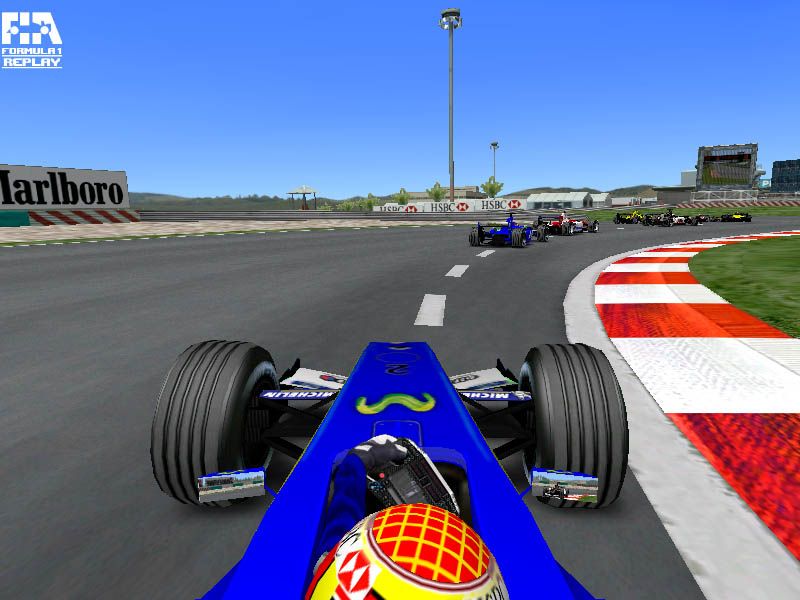
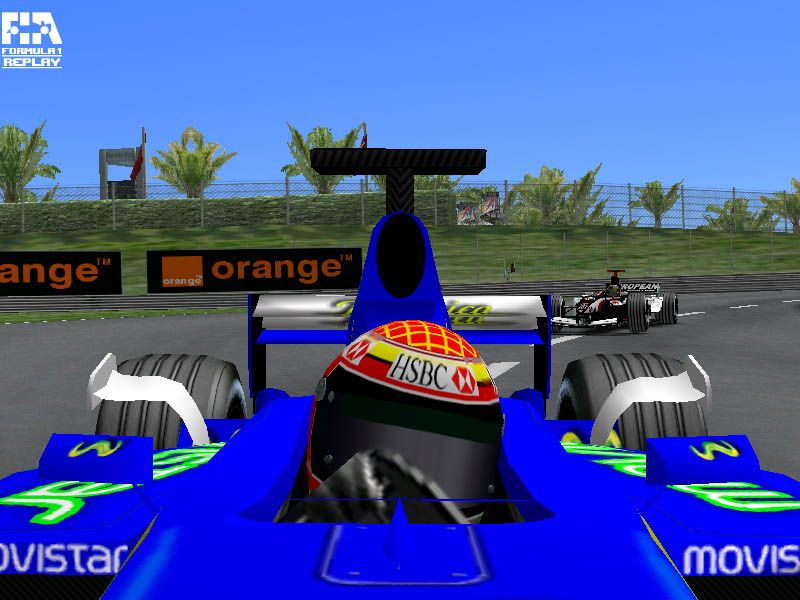
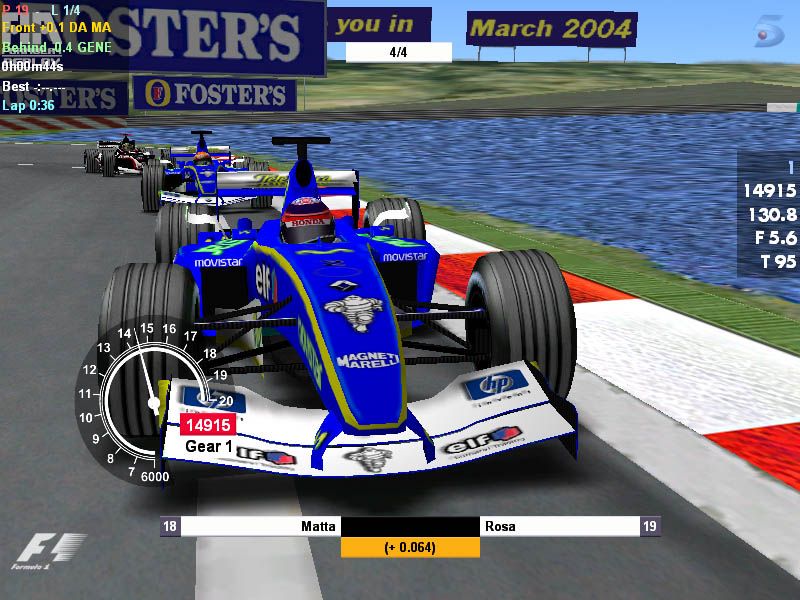
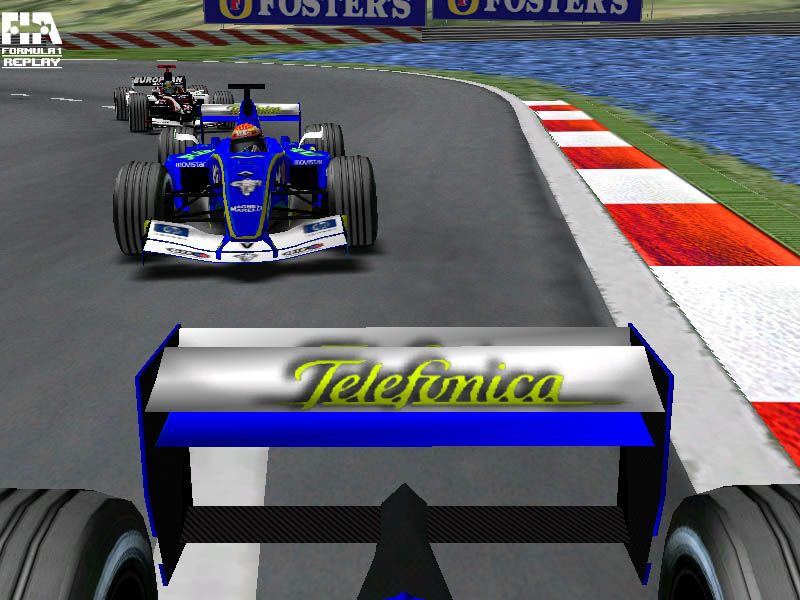
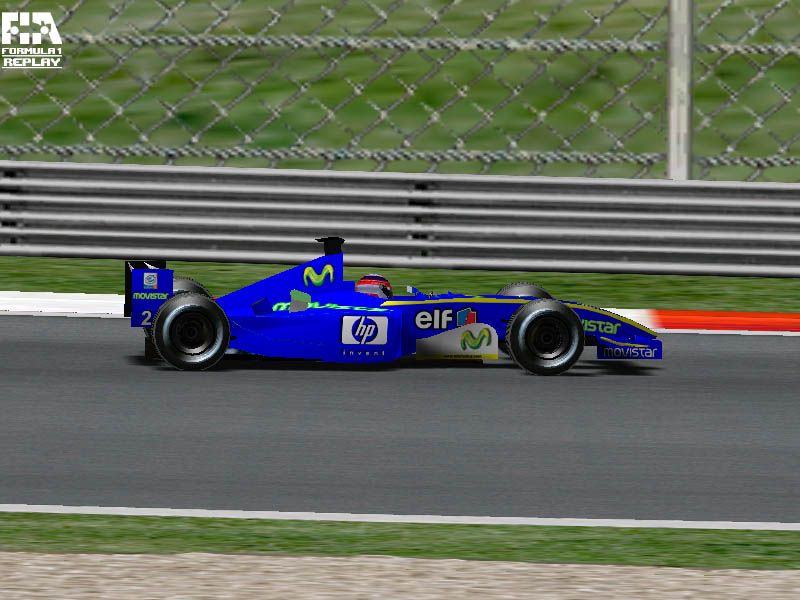
You can see some images of my 1st car that I made for GP4 (I only changed the front wing
of the original benetton and paint it).
