I will explain how to make a car for torcs in windows.
Import the ac file of an existing car into blender.
Add new objects, modify them, add uv mapping.
Finally convert squared faces to triangles (select the faces into blender and pres Crtl + T).
Export the car into ac format.
Now we have to make the acc files, these are the carshape files for torcs.
To create these files first of all create a directory on your hadrd disk. For example: c:\tmp.
Now copy into this directory accc.exe (from your torcs installation directory) and stripe.exe (is not provided with torcs).
You can download stripe.exe for windows on: Download stripe.
To install it, unzip and copy stripe.exe into the same directory of accc.exe
Copy your ac file into the C:\tmp directory and go to Start > Run > cmd.
Change the directory to your C:\tmp. It's to say type "cd C:\tmp" into the console.
To run accc.exe type into the console: "accc +es 0 my_carshpe.ac my_carshpe.acc" Now you have your acc files for torcs.


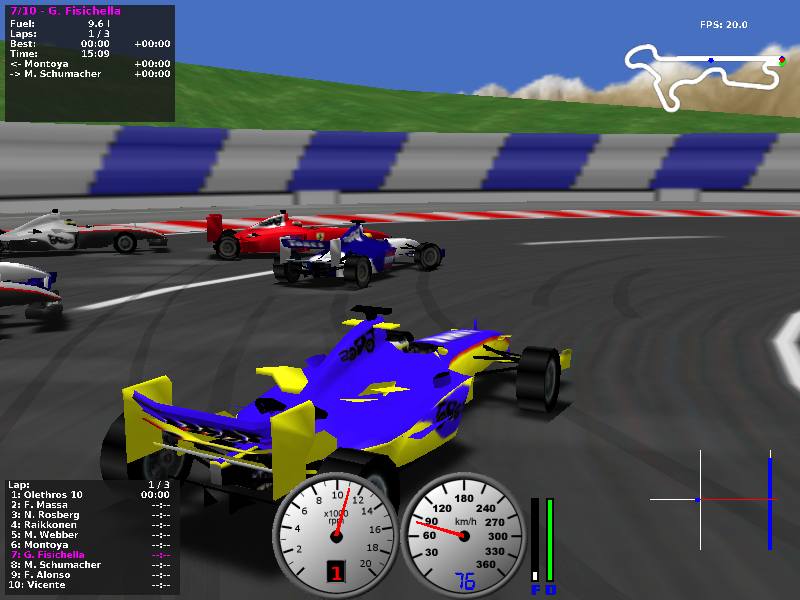
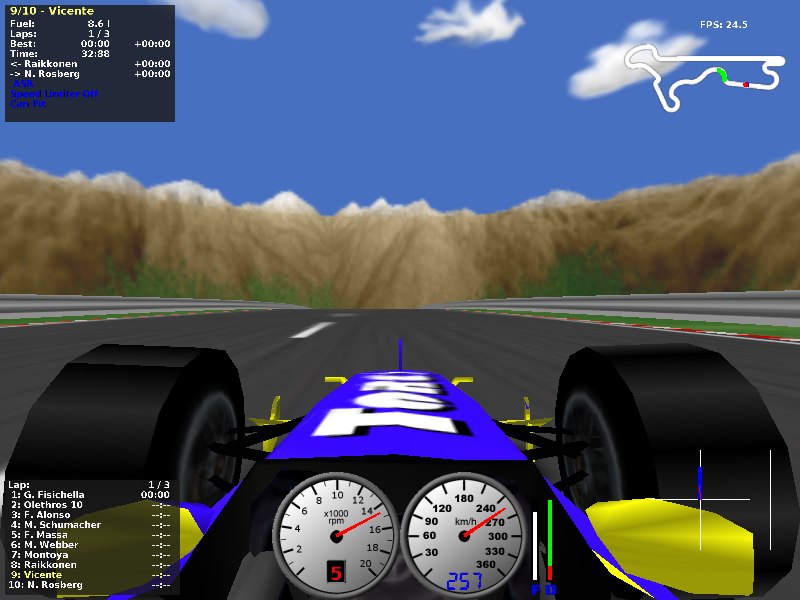
You can download (in the zip is the car that works on torcs: acc files, xml files. Just copy the f1-vicente into the torcs/cars folder and thats all. If you want to edit the car you will find the ac and blender file in a folder called car to edit.) this car on the next link: Download f1-vicente Formula 1 car.
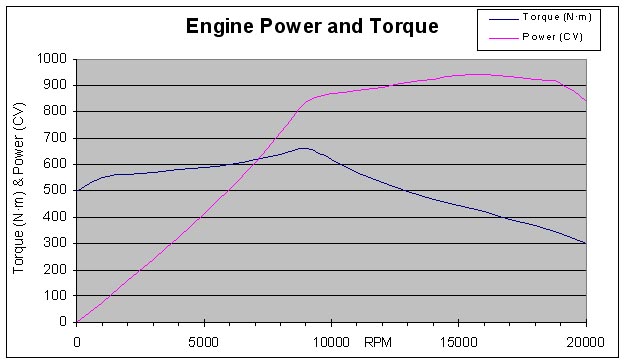
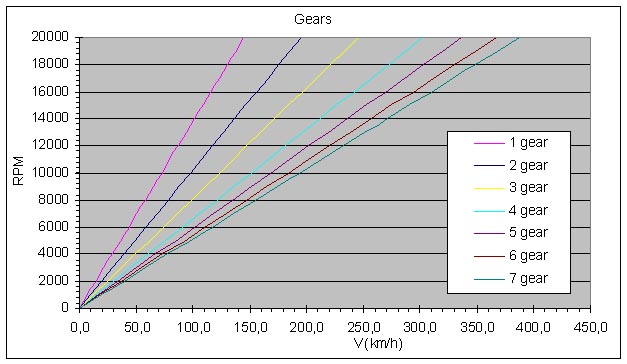
In the nex 2 images I show the engine of the car and the gear box:


You can download the Excell page on the next link: Download f1-vicente Formula 1 car engine and gears.
********************************************************** Vicente

