
First of all you need the template, we have made this in the final step at the mapping section.
(you can read a full description on the tutorial Quick Guide to find out mapping gp4 by Max Downforce.)
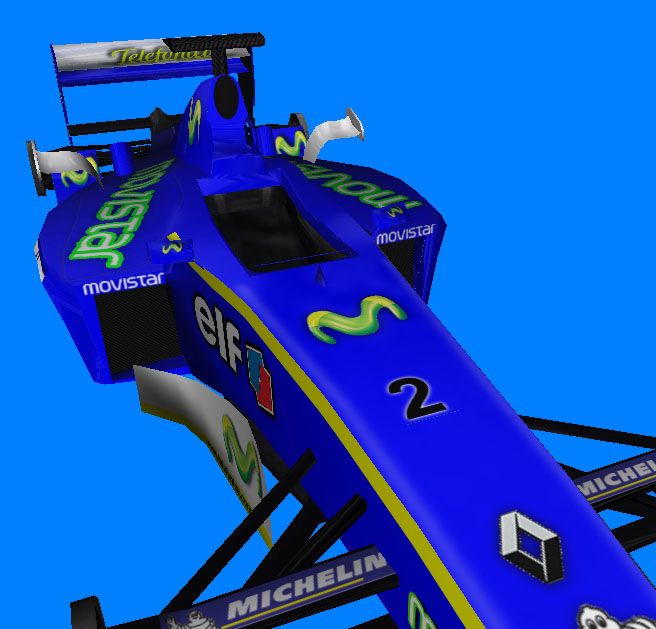
Now paint these textures, add logos, add a texture shading... and finaly add an alpha layer (an alpha layer
in gp4 means how is the reflection of the light: withe -> all light is reflected and black -> no light is
reflected). The best way to make an alpha layer is make all the alpha layer gray and then add some black
in the zones that shouldn't reflect the light.
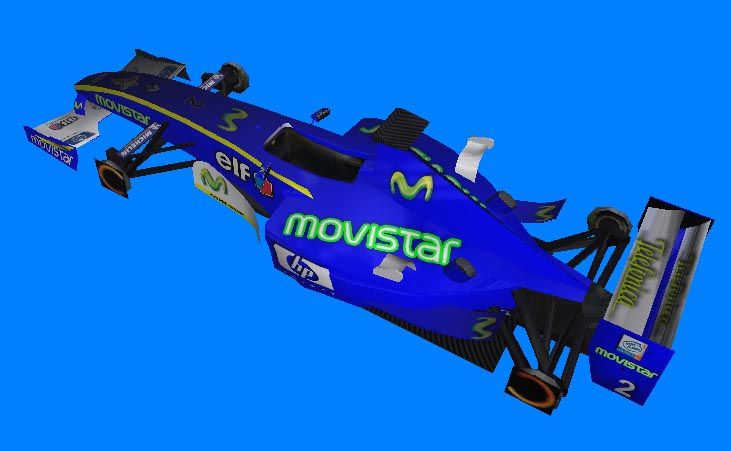
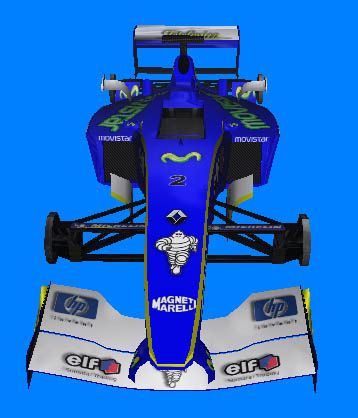
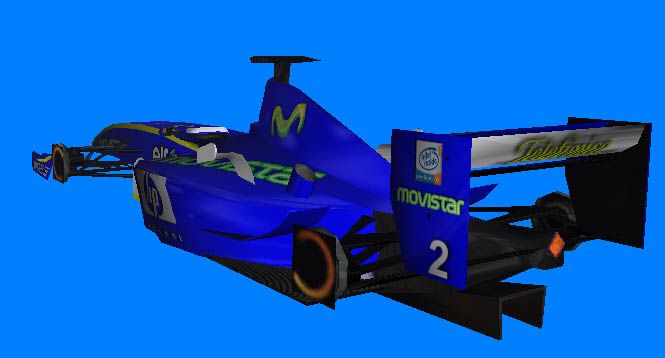
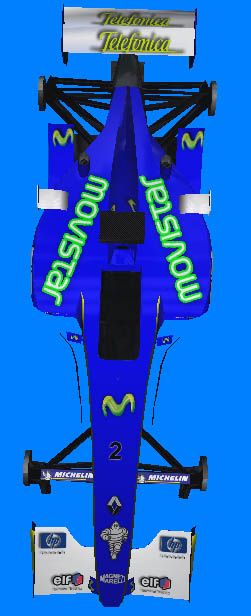
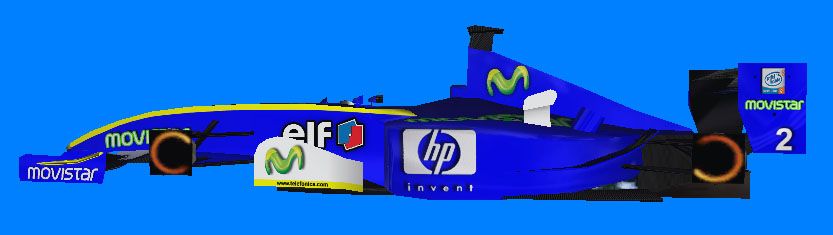
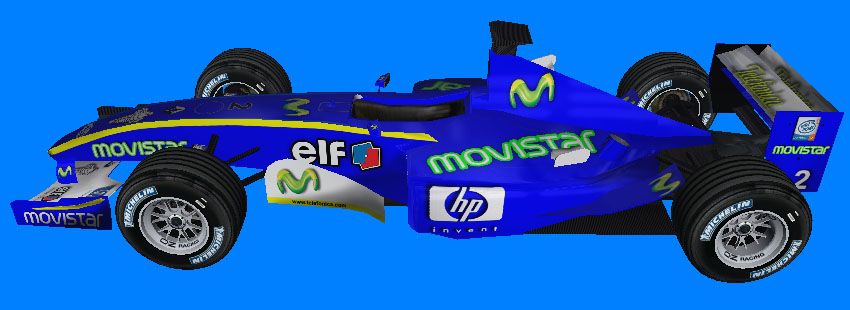
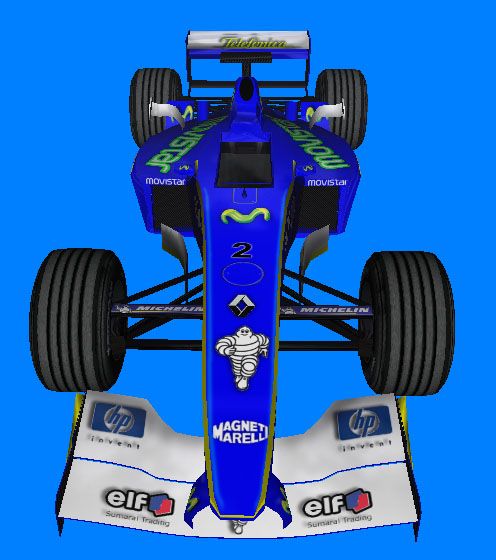
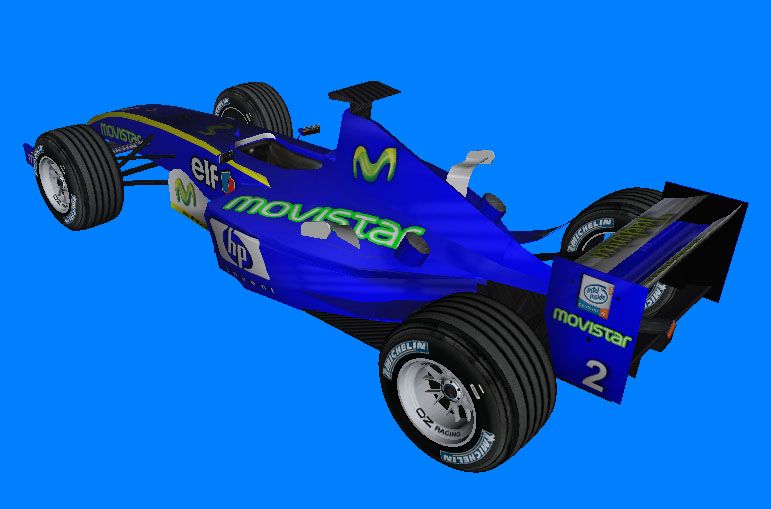
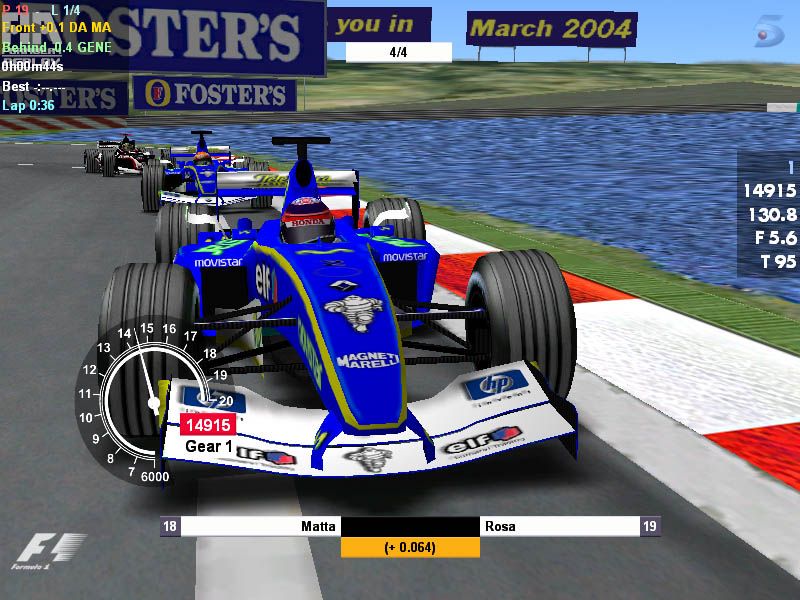
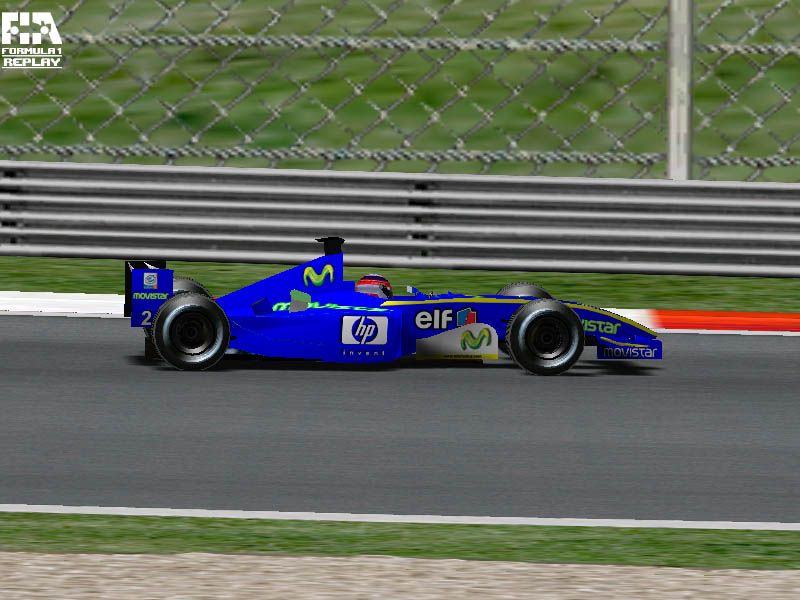
First of all I have painted the background of the car of color blue:


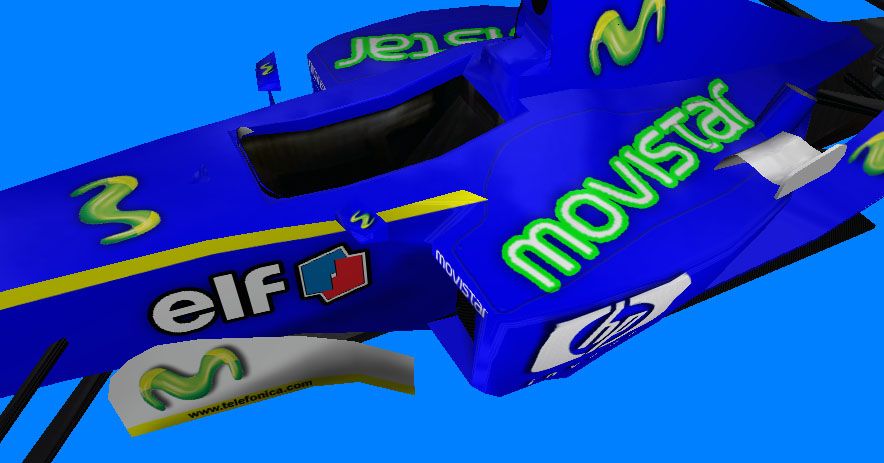
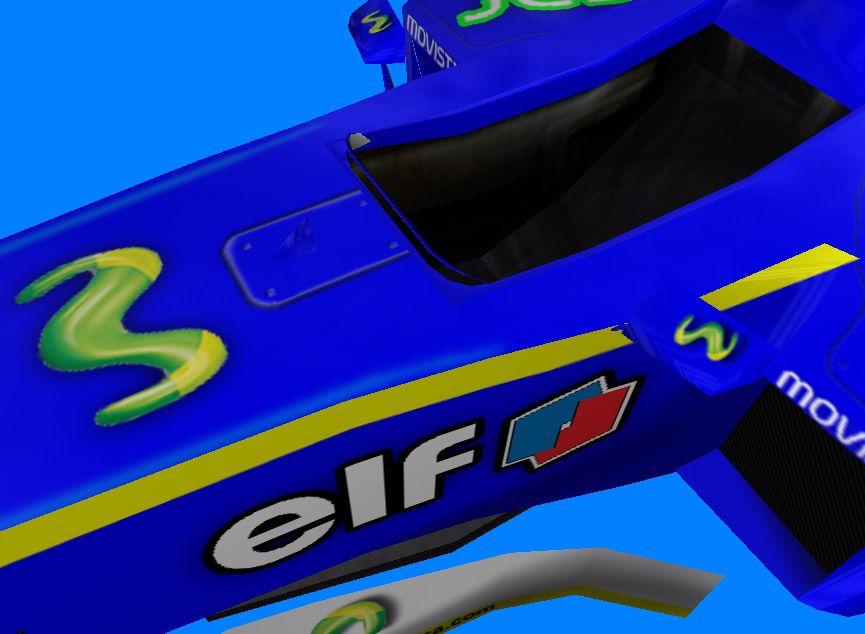
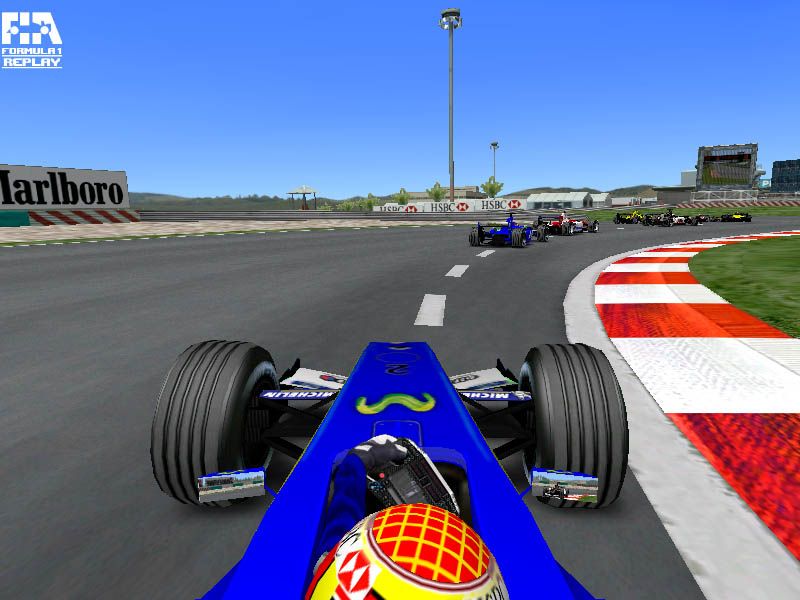
We need to paint the cockpit of our car in order to see the correct colours on the on-board camera in gp4.
It's easy to paint the cockpit if you get a template first of all. For example I will paint the Original Cockpit
Template by Nico from gpxcarpainting. You can read the readme file of this template that explains how to use
it.
First of all I have to tell you that the cockpit has one texture only (tex file): cp_myteam.tex .
So we only need to modify this file.
 cockpit template |
 movistar cockpit |

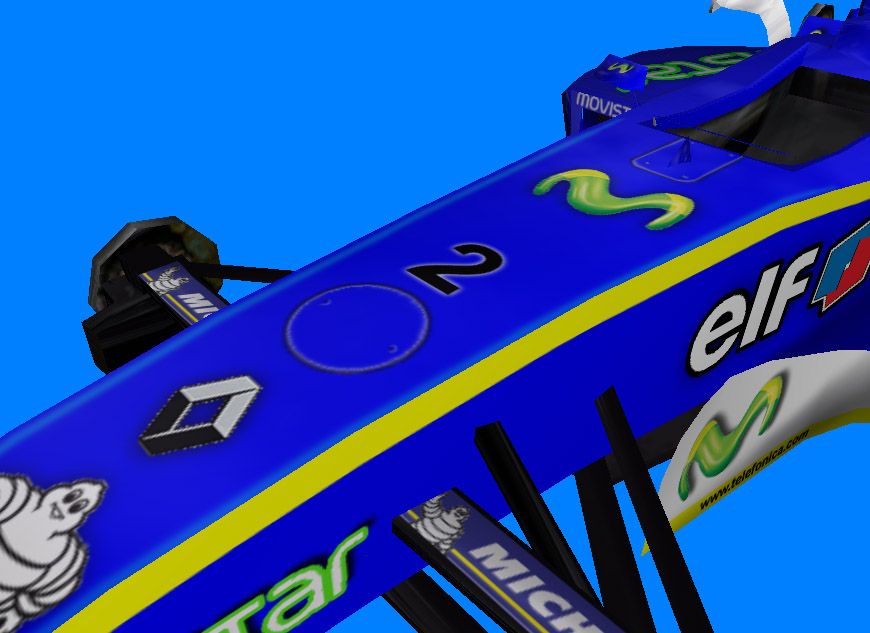
To finish our work, add and alpha layer, invert the textures and save the textures in tga format(32 bits and RLE encoded
(RLE encoded is optional, but is better because the tga have less size)):
cp_myteam.tga
Make a back-up of your cars.wad
Create the tex files with TexResizer (cp_myteam.tex)and update your cars.wad with
WadUpdater (Open Wadupdater, select the cp_myteam.tex and the cars.wad. Then click on UpdateWad and
automatically the cp_myteam.tex will be updated in your cars.wad.
With TeamEditor you can change the name of the slot and this affects to
the name of the carshape (car_myteam_car1_lod0.gp4 ...) and for the cockpit name (cp_myteam.tex).
So you have to use the name of the slot name of your team (it's to say the same name as your
carshape).

| Team 1 | driver1_1.tex, driver1_2.tex for driver 1. driver2_1.tex, driver2_2.tex for driver 2. |
|
| Team 2 | driver3_1.tex, driver3_2.tex for driver 3. driver4_1.tex, driver4_2.tex for driver 4. |
|
| Team 3 | driver5_1.tex, driver5_2.tex for driver 5. driver6_1.tex, driver6_2.tex for driver 6. |
|
| Team 4 | driver7_1.tex, driver7_2.tex for driver 7. driver8_1.tex, driver8_2.tex for driver 8. |
|
| Team 5 | driver9_1.tex, driver9_2.tex for driver 9. driver10_1.tex, driver10_2.tex for driver 10. |
|
| Team 6 | driver11_1.tex, driver11_2.tex for driver 11. driver12_1.tex, driver12_2.tex for driver 12. |
|
| Team 7 | driver14_1.tex, driver14_2.tex for driver 14. driver15_1.tex, driver15_2.tex for driver 15. |
|
| Team 8 | driver16_1.tex, driver16_2.tex for driver 16. driver17_1.tex, driver17_2.tex for driver 17. |
|
| Team 9 | driver18_1.tex, driver18_2.tex for driver 18. driver19_1.tex, driver19_2.tex for driver 19. |
|
| Team 10 | driver20_1.tex, driver20_2.tex for driver 20. driver21_1.tex, driver21_2.tex for driver 21. |
|
| Team 11 | driver22_1.tex, driver22_2.tex for driver 22. driver23_1.tex, driver23_2.tex for driver 23. |
|
But you have to modify the files in the folder: GP4/cars, these tex files are:
Let`s see an example of a helmet, the shape of the helmet is:

Like in the car, we now are going to paint the helmet using the template.
It's easiest to paint the helmet as the car. You can see it in the next tga files for the helmet
(driverX_1.tex, driverX_2.tex):


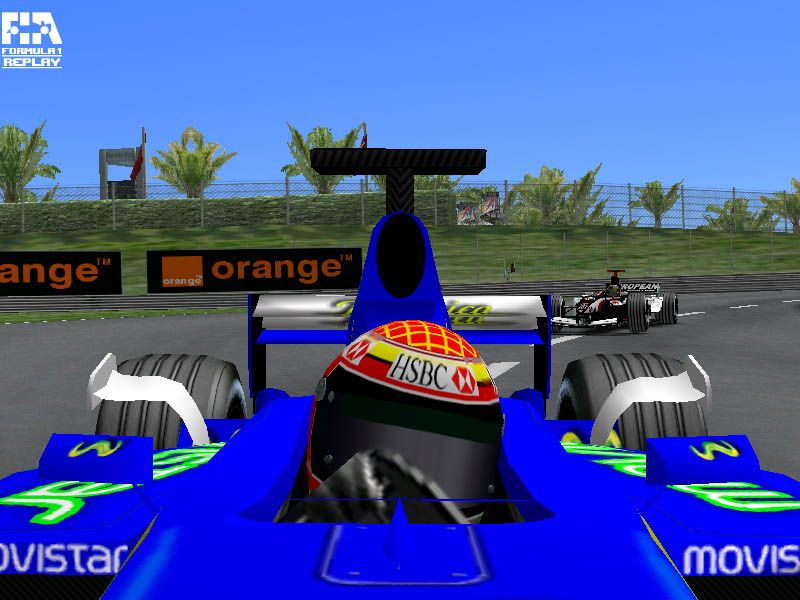
Finally we can see the result of our work on the 3D view of ZModeler. The next image shows my helmet for the movistar F1 car:

To finish our work, add and alpha layer and save the textures in tga format(32 bits and RLE encoded
(RLE encoded is optional, but is better because the tga have less size)):
driverX_1.tga and driverX_2.tga.
Note that you have not to invert the textures.
Moreover I have to tell you that invert the textures depends on the template and the .z3d file
to see the helmet in ZModeler. In some templates and .z3d files you don't need to flip vetically
the textures but in others not. So, don't worry about this, if the texutre is incorrect in gp4
(flip vertically), just flip vertically the textures and you will solve your problem.
Make a back-up of your cars.wad
Create the tex files with TexResizer (driverX_1.tex and driverX_2.tex)and update your cars.wad with
WadUpdater (Open Wadupdater, select the driverX_1.tex and the cars.wad. Then click on UpdateWad and
automatically the driverX_1.tex will be updated in your cars.wad. Do the same for the driverX_2.tex).


Finally we will paint the pitcrew.
The textures for the pitcrew are located in the anim.wad. The tex files for the engineer are
located in the folder \animationdata\qualifying\skins and the name of the tex files are
engin_myteam.tex.
The tex files for the pitcrew are
located in the folder \animationdata\race\skins and the name of the tex files are
pitcrew_myteam.tex.
Now our work is modify these textures, but we will use the Pitcrews templates by MaxDownforce
and ChaosF1 from gpxcarpainting.
The textures that we have to modify are:
 Pitcrew template, file: pitcrew_myteam.tex |
 Engineers template, file: engin_myteam.tex |
Finally painting the background of this template and adding some logos we have a good pitcrews and engineers for our F1 team:
 Pitcrew template, file: pitcrew_myteam.tex |
 Engineers template, file: engin_myteam.tex |
To finish our work, add and alpha layer and save the textures in tga format(256pixels X 256pixels) (32 bits and RLE encoded
(RLE encoded is optional, but is better because the tga have less size)):
pitcrew.tga and engin.tga.
Note that you have not to invert the textures.
Make a back-up of your anim.wad
Create the tex files with TexResizer (pitcrew.tex and engin.tex)and update your anim.wad with
WadUpdater (Open Wadupdater, select the pitcrew_myteam.tex and the anim.wad. Then click on UpdateWad and
automatically the pitcrew_myteam.tex will be updated in your anim.wad. Do the same for the engin_myteam.tex).
Moreover, you have to use the original slot name for the pitcrew_myteam.tex and engin_myteam.tex,
its to say if your team is in the slot 11 you have to use the prost name for myteam.
I have tell you this because with TeamEditor you can change the name of the slot and this affects to
the name of the carshape (car_myteam_car1_lod0.gp4 ...) and for the cockpit name (cp_myteam.tex).
And the name of the helmets and the pitcrew aren't changed. So you must use the original team names for
the pitcrews and engineers and original numbers for the helmets.
The original slots names are:


